REST API & webhooks Team
Who this page is for. This page is for developers and the IT team. The REST API lets your own software start ScribX in a meeting and read transcripts and recordings. Webhooks let ScribX send a message to your system when something happens, for example when a meeting ends or a summary is ready. If you are not technical, send this page to your IT team. To connect a calendar, Zoom or Notion without code, see Integrations instead.
The REST API, webhooks and API keys are available on Team and Enterprise. See Plans & billing.
What you can do with the API
- Start ScribX in a meeting. Send a meeting link, and ScribX joins it.
- List meetings and read their details and status.
- Read a transcript. Each line has the speaker's name and a time.
- Get the recording of a meeting, when it keeps audio or video.
- List participants of a meeting.
Summaries come to you through the summary.update webhook (see below), or through the
MCP server.
Create an API key
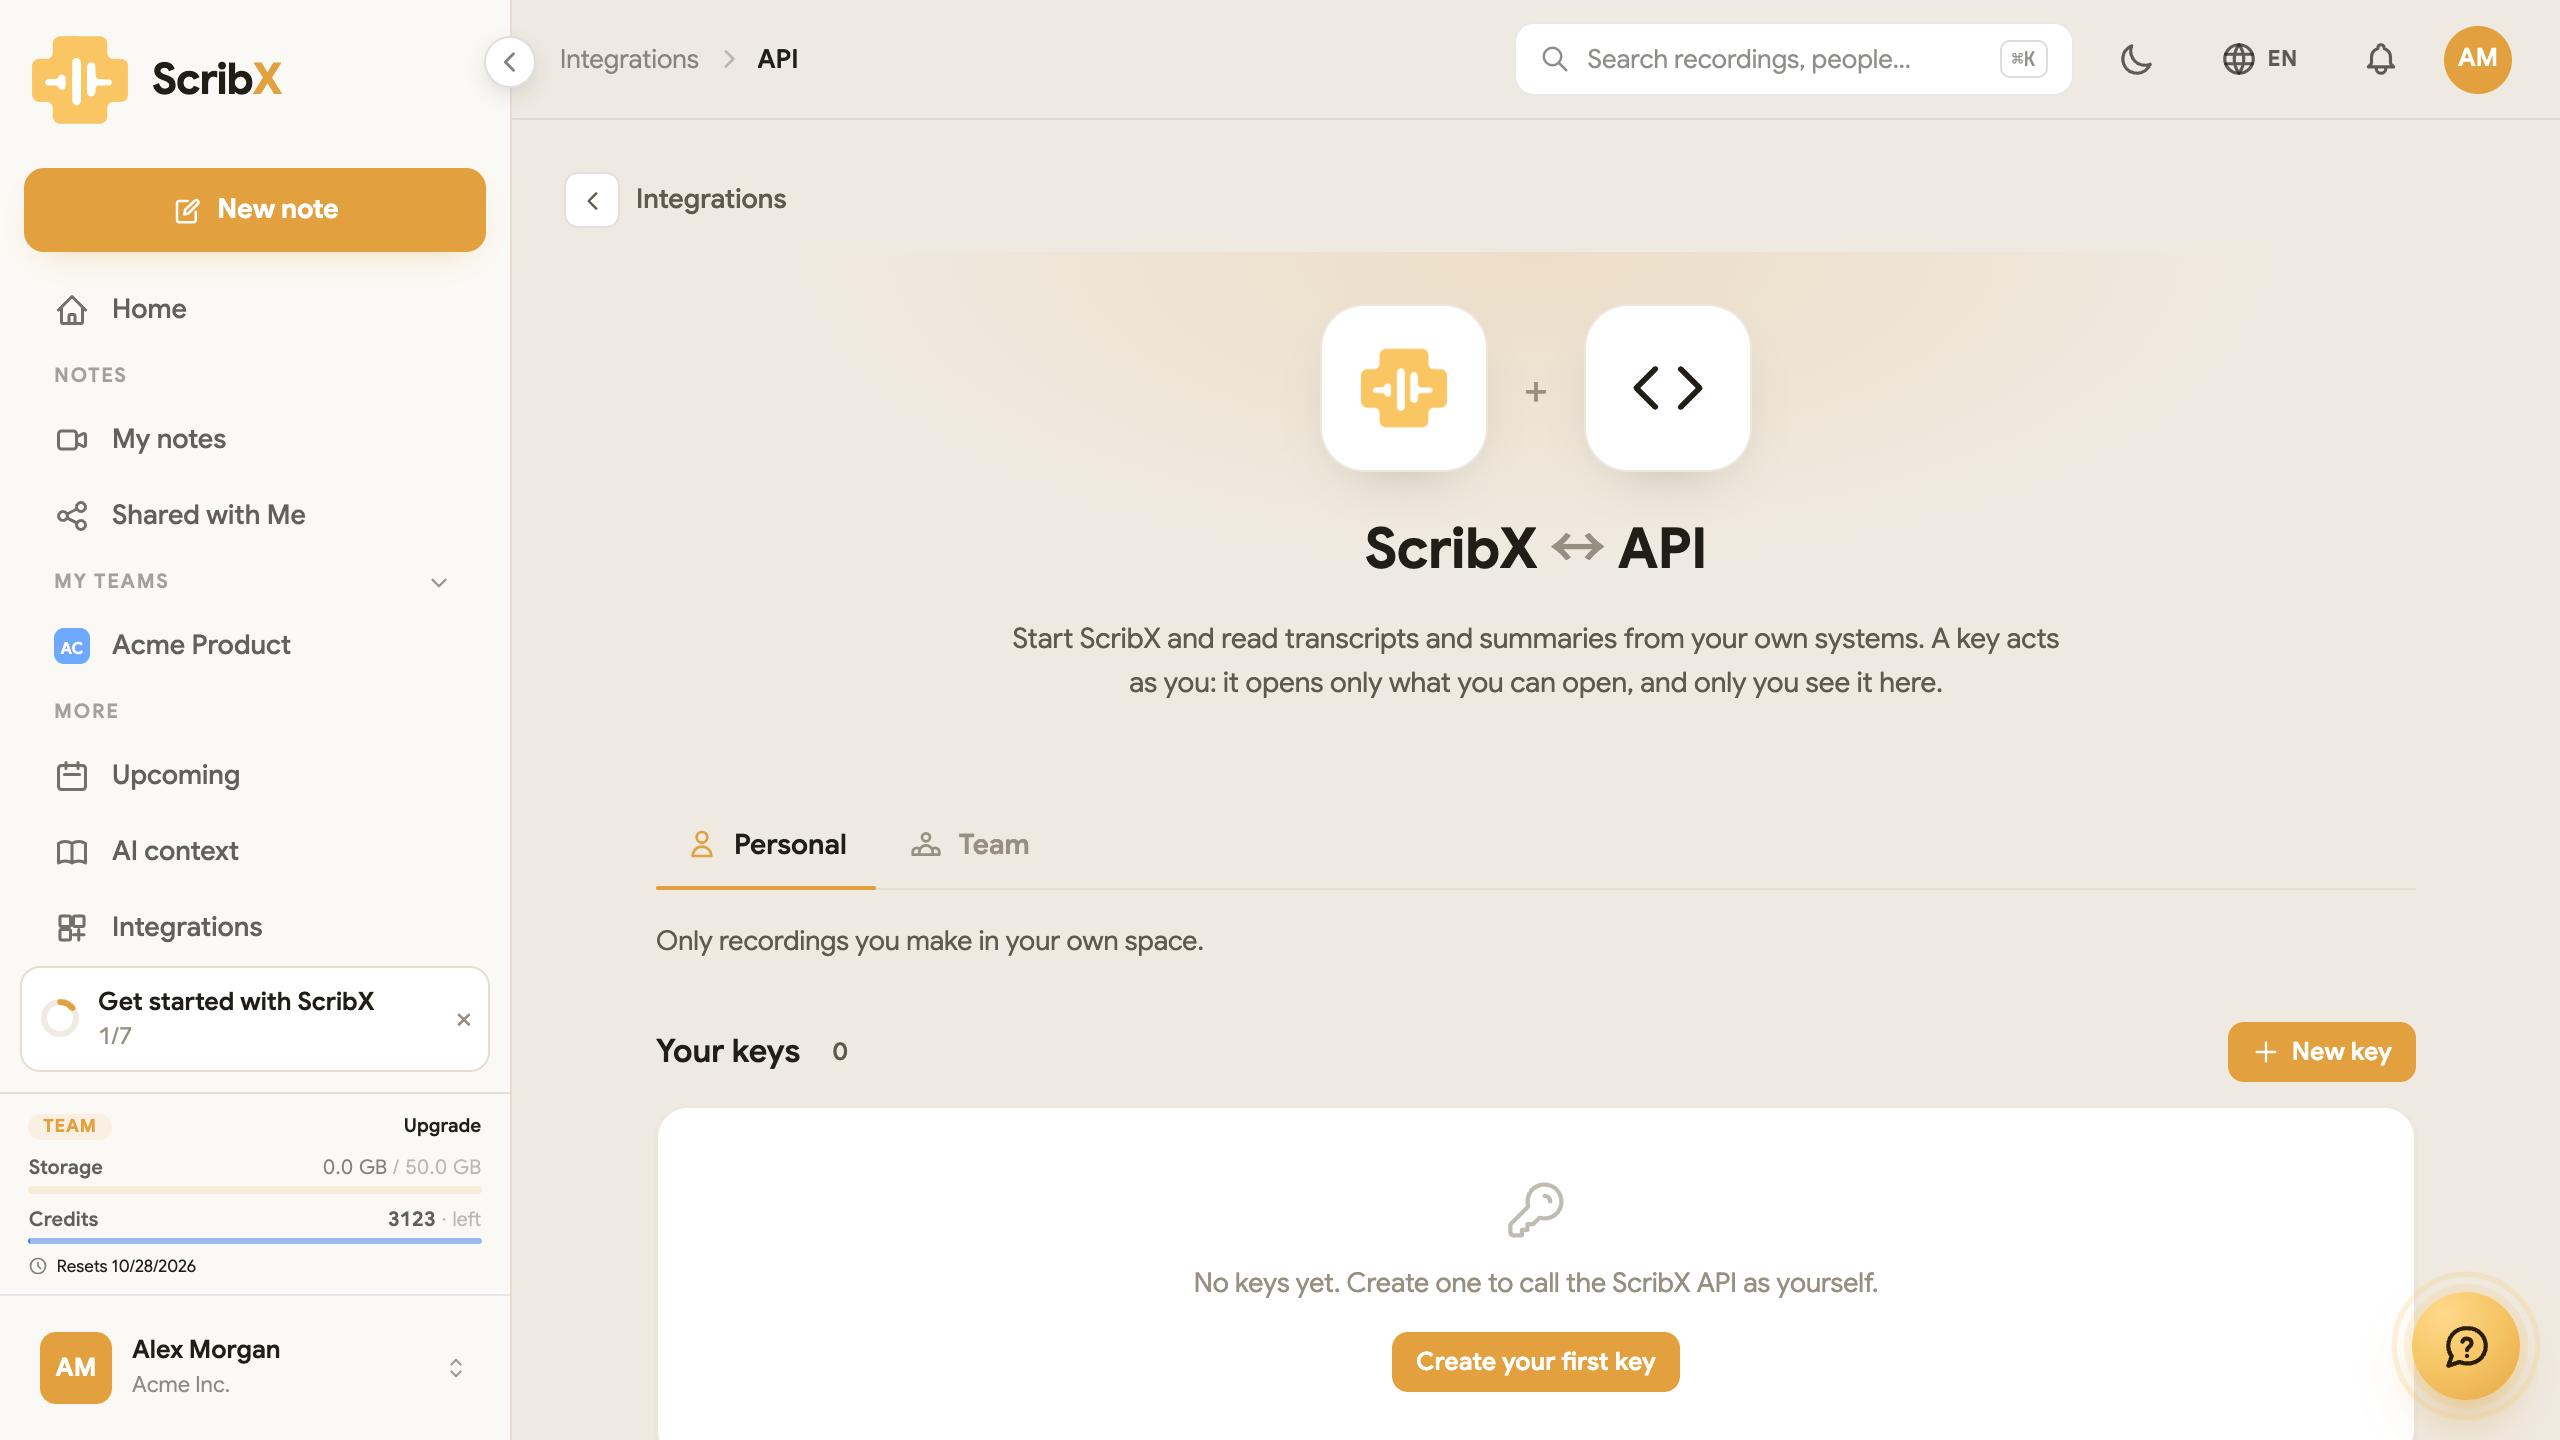
- In the web app, in the sidebar under MORE, click Integrations.
- Under Advanced, click API.
- At the top, click Personal (only the meetings in your own space) or Team (the meetings of one team).
- Click New key.
- In Name, type a name that says where the key is used, for example "Production".
- Under Scopes, choose what the key may do. If you tick no boxes at all, the key gets full
access:
bots:read: read meetings and their status.bots:write: start and control ScribX in meetings.recordings:read: read recordings and transcripts.webhooks:write: manage webhooks.
- Click Create key.
- Copy the key now. It is shown only once. Keep it in a safe place, such as a password manager. Send it to your developer through a secure channel, not in a normal chat message.
A key acts as you. It opens only what you can open. Only you see it in the list. To stop a key working, click Revoke key next to it. Anything that uses the key stops working at once.
Call the API
Send the key in the Authorization header, with the word Token before it:
curl https://platform.scribx.app/api/v1/bots \
  -H "Authorization: Token YOUR_API_KEY"
Main addresses (all under https://platform.scribx.app/api/v1/):
| Address | What it does |
|---|---|
POST bots | Start ScribX in a meeting. |
GET bots | List meetings. |
GET bots/{id} | Details and status of one meeting. |
GET bots/{id}/transcript | The transcript. |
GET bots/{id}/recording | A link to download the recording. |
GET bots/{id}/participants | The participants. |
For the full reference, contact ScribX support.
Webhooks
A webhook is a web address in your system. ScribX sends a message (an HTTP POST) to that address
each time an event happens.
Add a webhook
- Open Integrations. Under Advanced, click Webhooks.
- At the top, click Personal or Team.
- Under Signing secret, click Copy secret. ScribX signs every message with this secret. Your system uses it to check that the message really came from ScribX. There is one secret for all your webhook addresses.
- Click Add webhook.
- In Endpoint URL, type the address of your system. It must start with
https://. - Under Events, choose one or more events. The most useful are:
bot.state_change: ScribX joined, left, or the meeting ended.transcript.update: new transcript lines arrived.summary.update: a summary was written. The summary text is in the message.participant_events.join_leave: someone joined or left the meeting.
- Click Add webhook.
What ScribX sends
Each message is JSON. It looks like this:
{
  "idempotency_key": "…",      // unique for each message
  "bot_id": "bot_…",           // the meeting
  "bot_metadata": { },
  "trigger": "summary.update", // the event
  "data": { }                  // the event's details
}
The signature is in the X-Webhook-Signature header.
Reply with a 2xx status code within 10 seconds, then do the slow work afterwards. If your system
replies with another code or does not reply in time, ScribX sends the message again. Use
idempotency_key to ignore a message you already handled.