Recording Google Meet
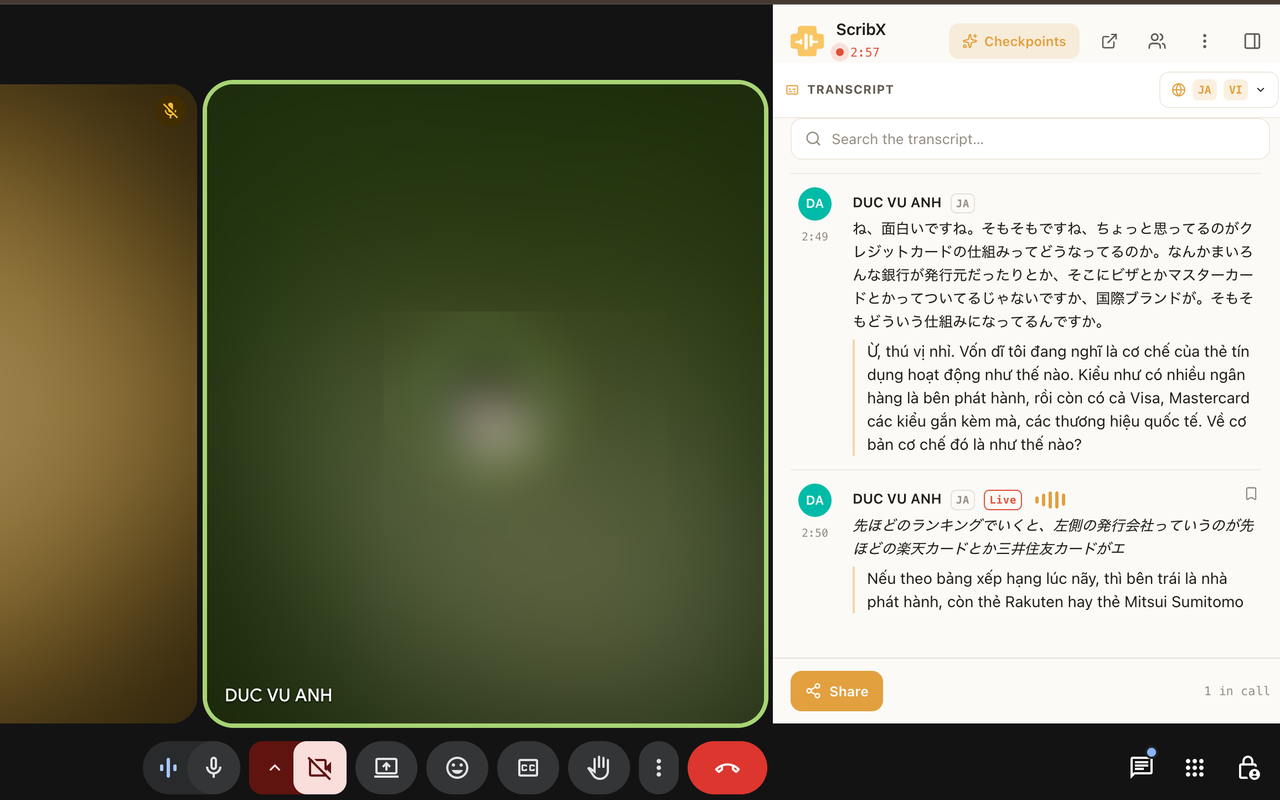
In Google Meet you have two choices: use the extension in the call, or send a bot.
Bot ✅ · Browser extension ✅ (full side panel) · Voice recording (mic) ✅ See Supported platforms.
Google Meet runs in the browser. There is no desktop app, so both choices work.
Which way to record
| You are… | Use | Why |
|---|---|---|
| In the call, and you need captions only | Live captions in the extension | No bot joins. ScribX reads Google Meet's own captions. Free. |
| In the call, and you want a full recording | Start ScribX in the extension | A bot joins, records and transcribes. |
| Going to leave, or not joining | Send a bot from the web app | The bot joins, records and leaves by itself. |
| In a room, with no call | Voice recording | It records your microphone. |
You don't need to connect a Google account for any of these.
Step by step — from the extension
Use this when you are already in the call.
- Install the extension and sign in.
- Join the Meet call as usual.
- Click the ScribX icon in your browser toolbar, then Capture this meeting. The ScribX panel opens next to the call.
- Choose one:
- Start ScribX — a bot joins the call. It records, transcribes and translates. Someone may need to admit it.
- Live captions — no bot joins. In the Meet toolbar, click CC to turn on captions. Then click Start live captions.
- Read the live transcript and captions in the panel while people talk.
→ More detail: Capture from the extension
Step by step — send a bot
Use this when you will leave the tab, or for planned calls.
- Copy the meeting link. Find it in the calendar invite, or in the call under
Joining info. It looks like
meet.google.com/abc-defg-hij. - In the web app, click New note in the sidebar.
- Paste the link into the Paste a meeting link box at the top of the empty note.
- (Optional) Under For this meeting:, choose the languages. Click Options to choose the transcription type and the summary template. You can also set your defaults once in your meeting preferences.
- Click Invite ScribX.
- Admit the bot when it asks to join (see below).
The bot joins as a participant, records, and leaves when the call ends. It can also join automatically from your calendar.
→ More detail: Send a bot
Admit the bot
This applies when a bot joins: from the web app, or with Start ScribX in the extension.
- ScribX asks to join. The host sees a message.
- The host clicks Admit. If no message appears, open the People panel and admit ScribX there.
Full steps: Admit the bot.
In newer versions of Google Meet, the bot can appear under a "potential risk" heading when it asks to join. Google shows this for every participant from outside your company. This is expected. Admit ScribX as usual.
End the recording and find your notes
- Bot — the bot leaves when the meeting ends. To stop earlier, click Remove ScribX from meeting in the extension panel, or open the note in the web app and click End in the Recording panel. See Manage the bot.
- Live captions — click Stop in the ScribX panel, or leave the call.
- If you close the meeting tab by mistake — a bot keeps recording. Open the tab again to see the panel.
Your note is in My notes in the web app sidebar. For a bot meeting, the summary appears a few moments after the call ends. See The note page.
Troubleshooting
- The bot stays on "Joining" — it is waiting in the lobby. A host must admit it.
- The bot can't join a restricted meeting — some meetings allow only people with an account in the host's company. Ask the host to allow guests.
- No ScribX panel in the call — reload the Meet tab. Check that the extension is installed and that you are signed in.
- More fixes: Extension troubleshooting.