Checkpoints & timeline
The Checkpoints ScribX captured live become a timeline on the finished meeting. Instead of scrubbing through a recording, jump straight to the moments that mattered.
The timeline
 1
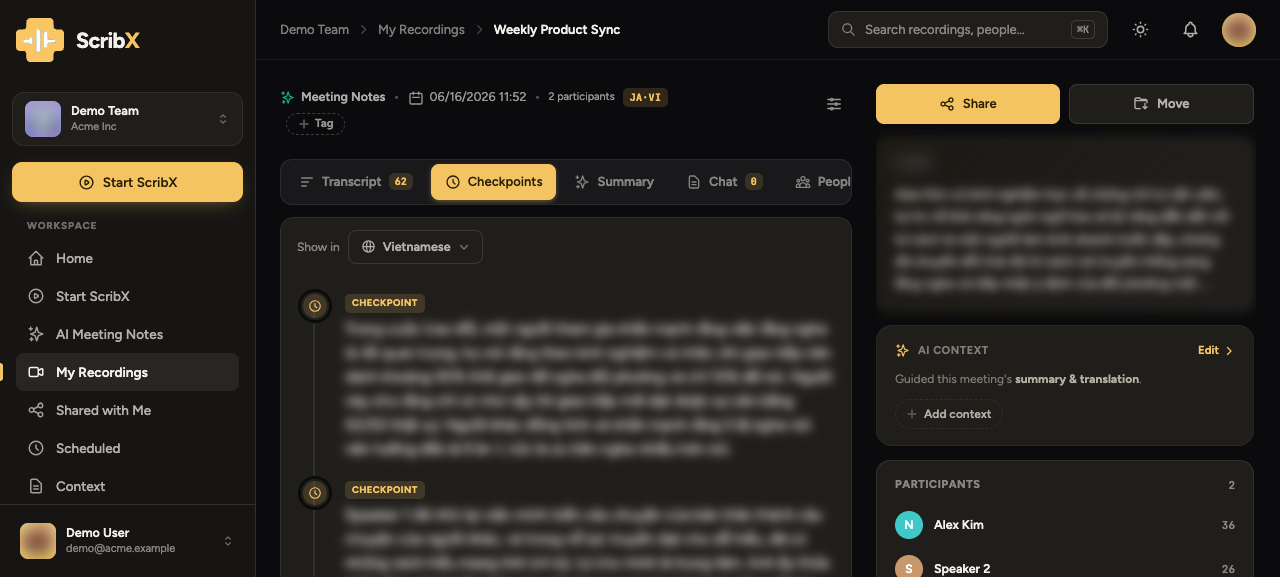
1- 1Each Checkpoint links to its exact moment in the recording and transcript
On a meeting's detail page, Checkpoints appear as markers you can click:
- Decisions — what was agreed
- Blockers — risks and obstacles
- Action items — who's doing what
- Key moments — notable points
Each marker links to that exact spot in the recording and transcript.
Jump to a moment
- Open a meeting in the web app.
- Click a Checkpoint in the timeline.
- The recording and transcript jump to that moment.
This is the fastest way to verify a decision, re-listen to a tricky exchange, or grab the exact wording of an action item.
How Checkpoints feed the write-up
Checkpoints aren't just navigation — they're the source of the structured note:
- Action-item Checkpoints become Next steps by owner.
- Decisions and key moments shape the Overview and Detailed recap.
See The write-up.
tip
Editing or removing a Checkpoint and regenerating keeps the timeline and the summary in sync.